
Tables are columns and rows of data that you can show your visitors.
These can be added to existing blocks by selecting any existing element and clicking the plus "+" icon below the element. Then choose "Table" from the menu.
By default, there are 4 cells (2 rows, 2 columns) in the Table. To add a column, click any cell and select the three dots at the top of the column. Then click "Add Column". In this menu, you can also move the entire column left or right, add a border/background color to the column, or delete the column.
To add a row, click any cell and select the three dots to the left of the row. Click "Add Row" from the menu. In this menu, you can also move the entire row up or down, add a border/background color to the row, or delete the row.
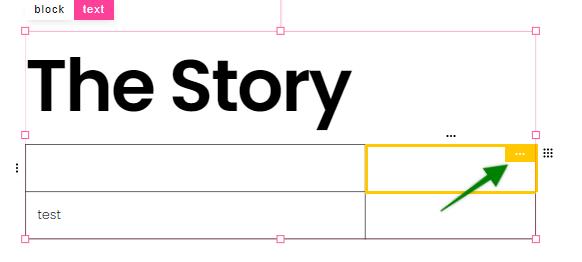
Any individual cell can be moved or have a border/background color added to it by clicking the cell and selecting the three dots at the top right of the cell.
The table can be deleted and configured by clicking the 9 dots to the right of the table.
