
Add the Menu Element to your Page
- To pull in a menu element, click the plus “+” icon at the top right of the builder and select “Menu”.
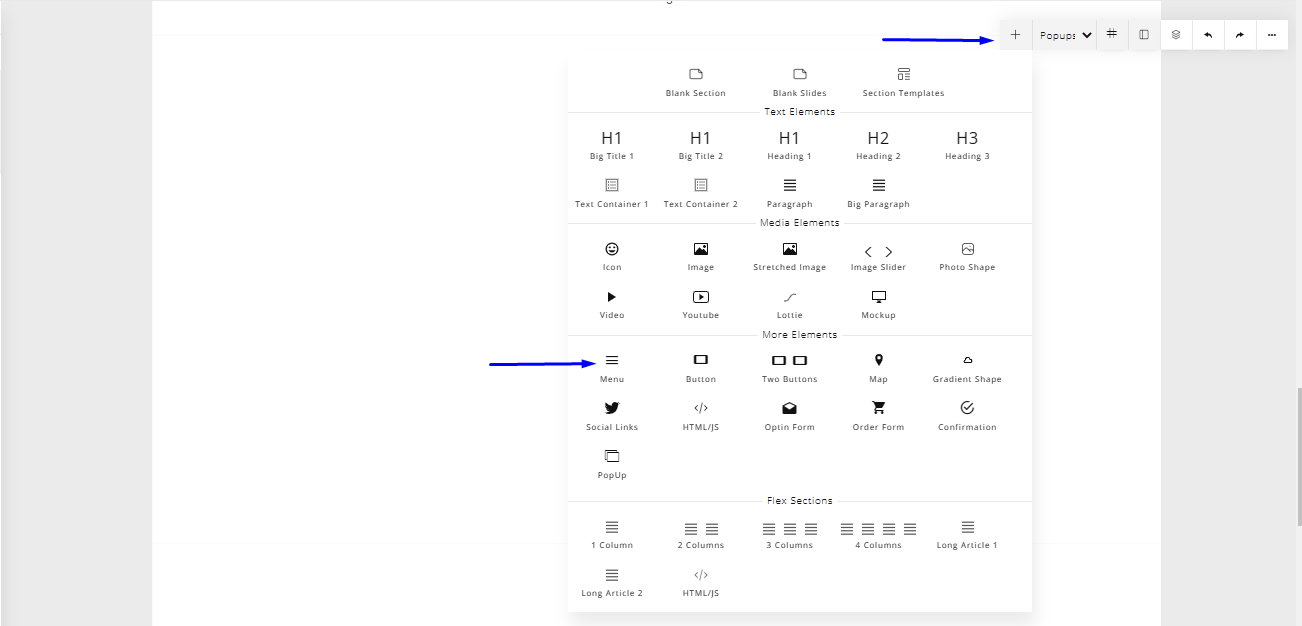
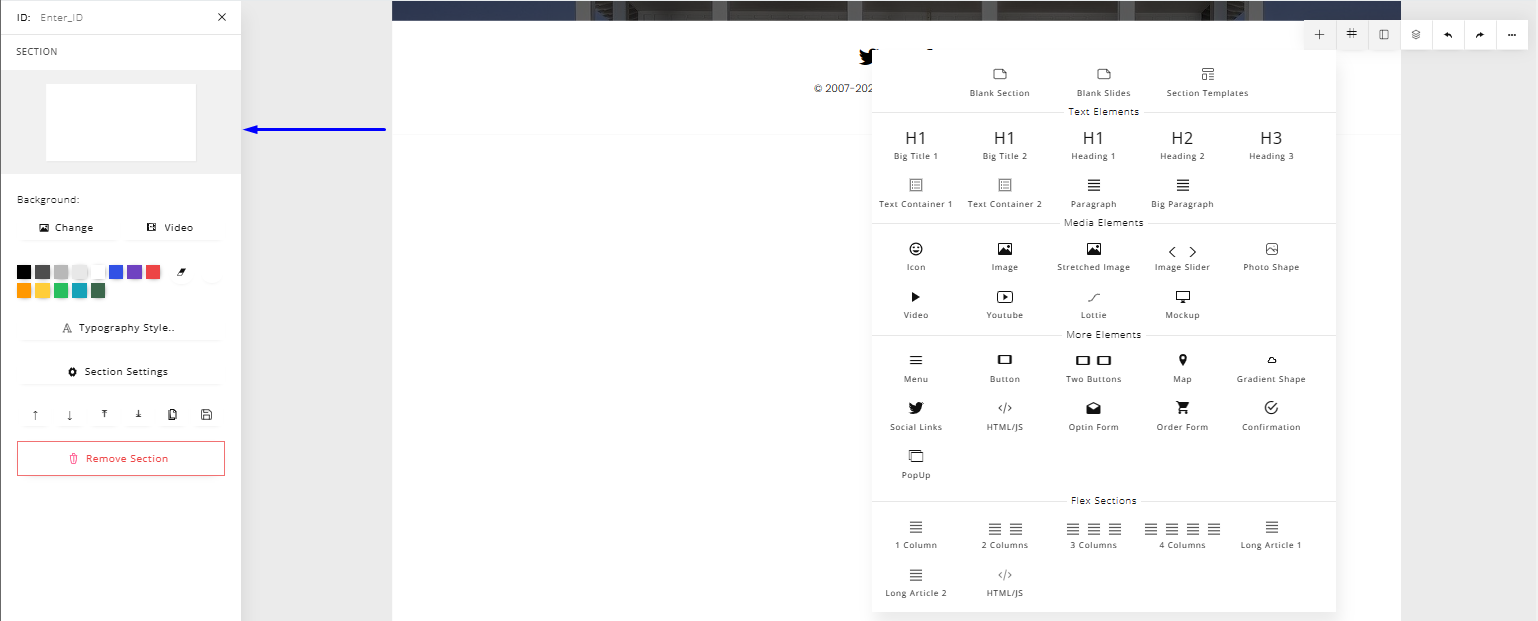
- Note that the element will be added to the active section. To know which section is active selected, look to the panel on the left-hand side of the screen, and you'll see the currently active section under the “SECTION” area.
Style Menu Items
- To style each menu item separately, double click within the menu element and highlight that menu item.
- Once that is done, styling options specific to the text of the menu element will appear in the panel on the left-hand side of your screen.
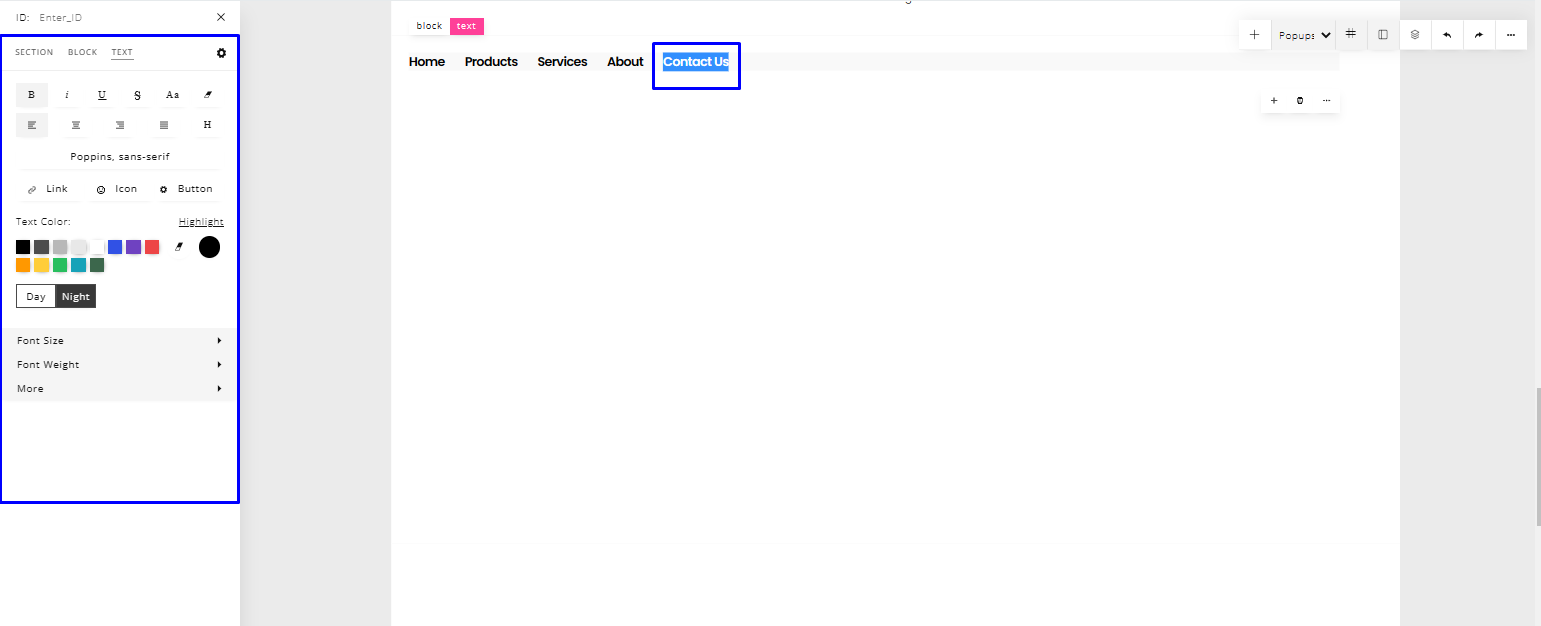
- There you can edit the color, size, and weight of the text, you can change the font family and also link the text to another page, pop-up, or section within your page.
Edit/Add Menu Items
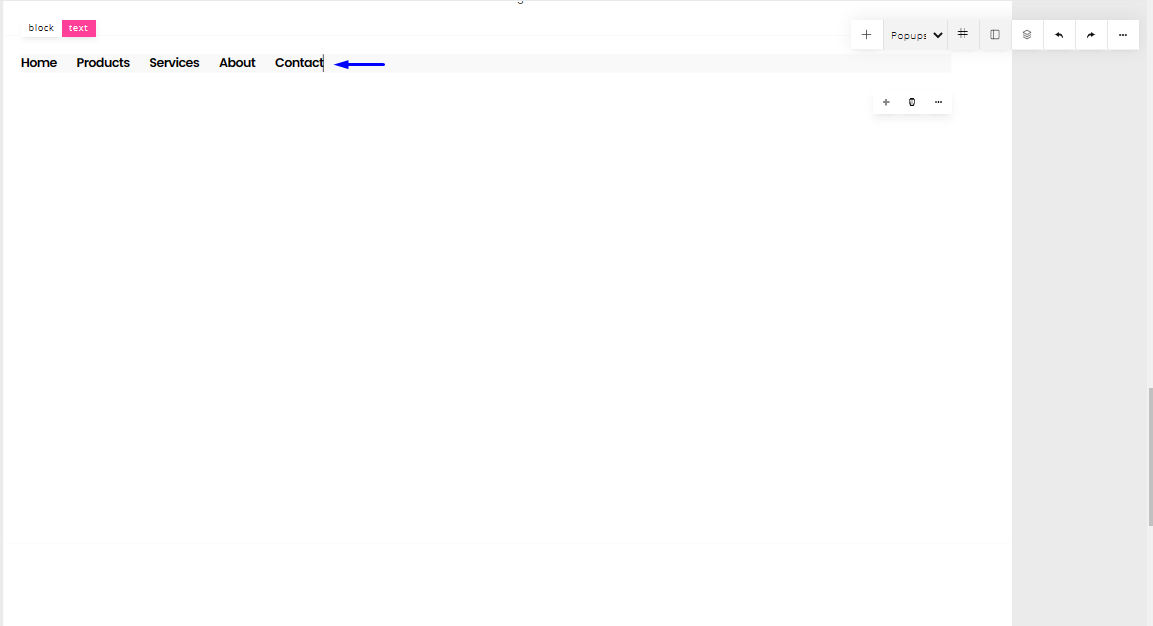
- To edit each menu item separately, double-click on the menu item you want to edit/change
- Once that is done, a text cursor would appear, and you can then change/edit the selected menu item.
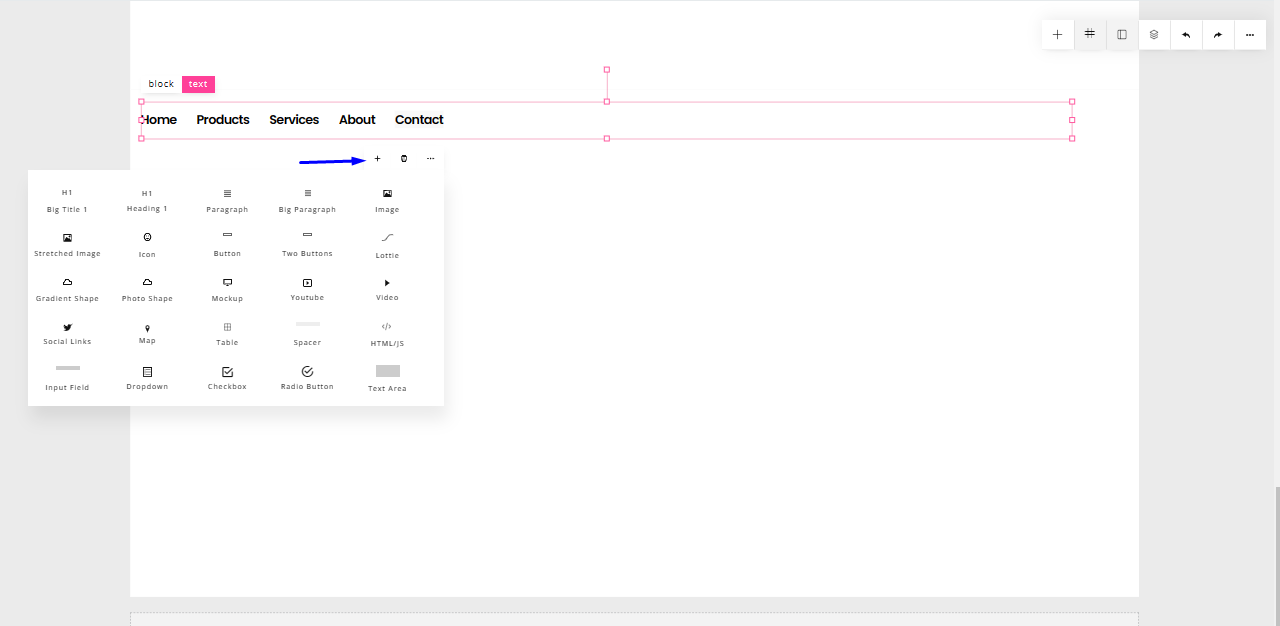
- You can also add other elements within the menu element.
- To do that, select any menu item and some options will appear below the selected menu item.
- Select the “+” option, and you can then select the element you want to add.
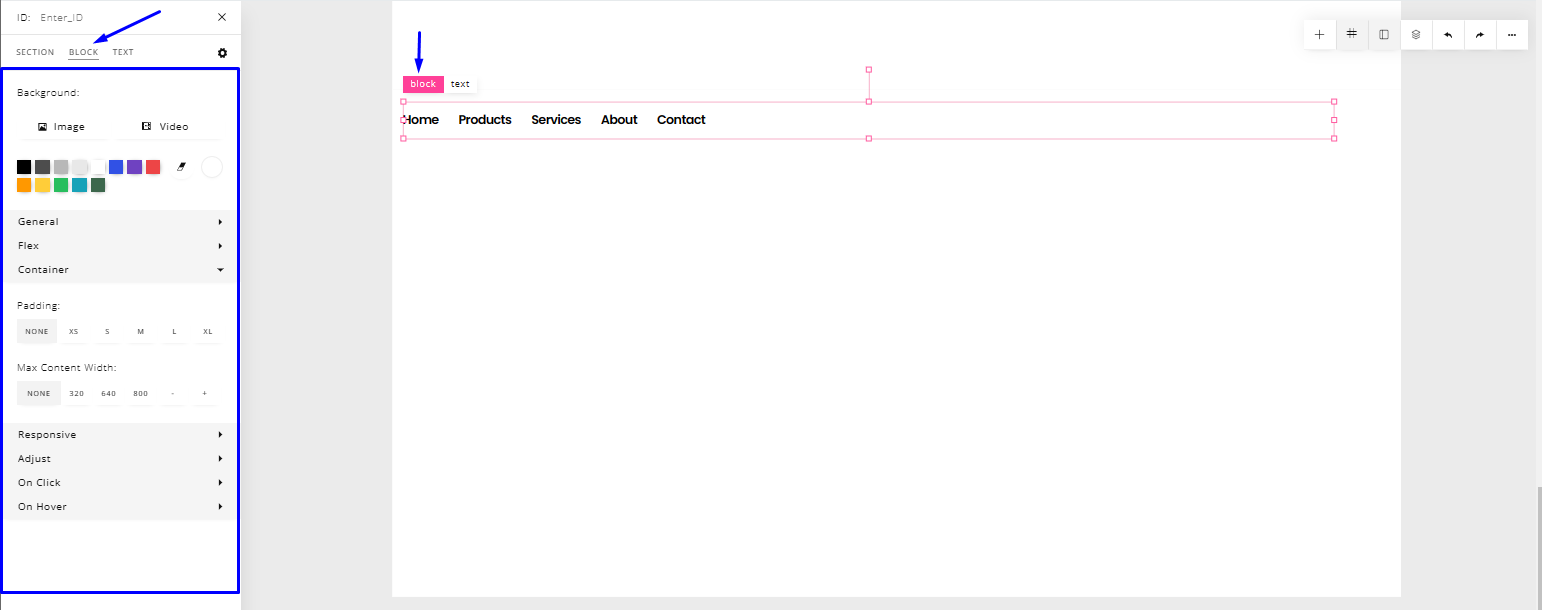
Block Settings
- The block settings allow you to style the menu element as a whole.
- You can edit the background color of the menu, the width, the padding, and other styling attributes related to the menu element.
- To do that, select the menu element, there are two editing options at the top of the menu element. Select the “block” option. Once you select it, the panel on your left will change to the styling options for the form.
N.B: Always remember to save your changes, else your changes won't apply if your page reloads by any chance.