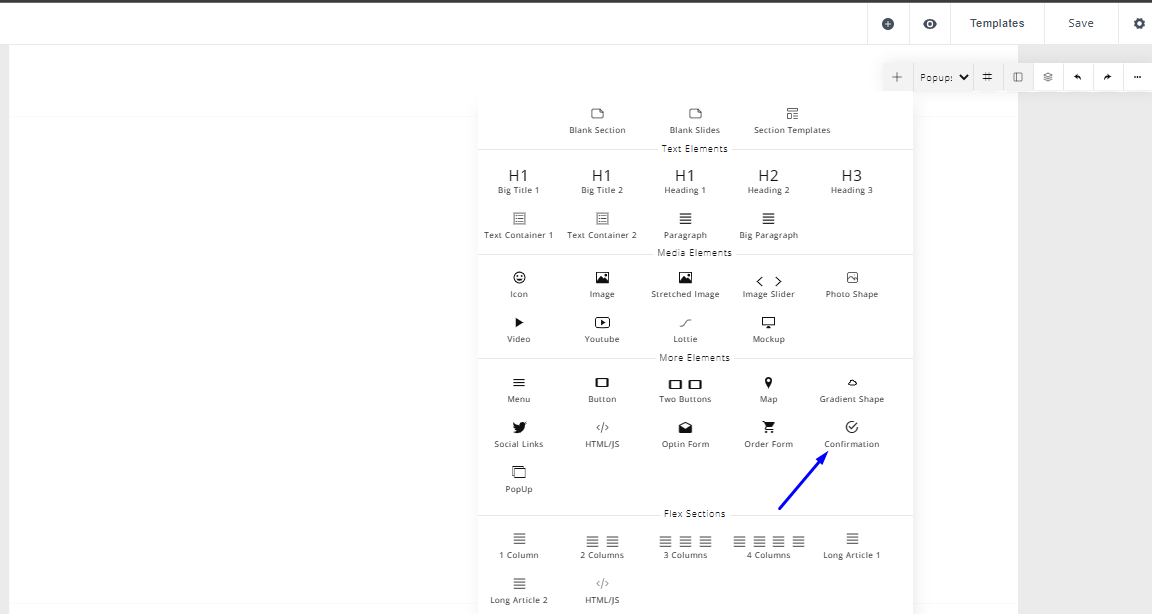
Add the Confirmation Element to your Page
- To pull in a Confirmation Element, click the plus “+” icon at the top right of the builder and select “Confirmation”.
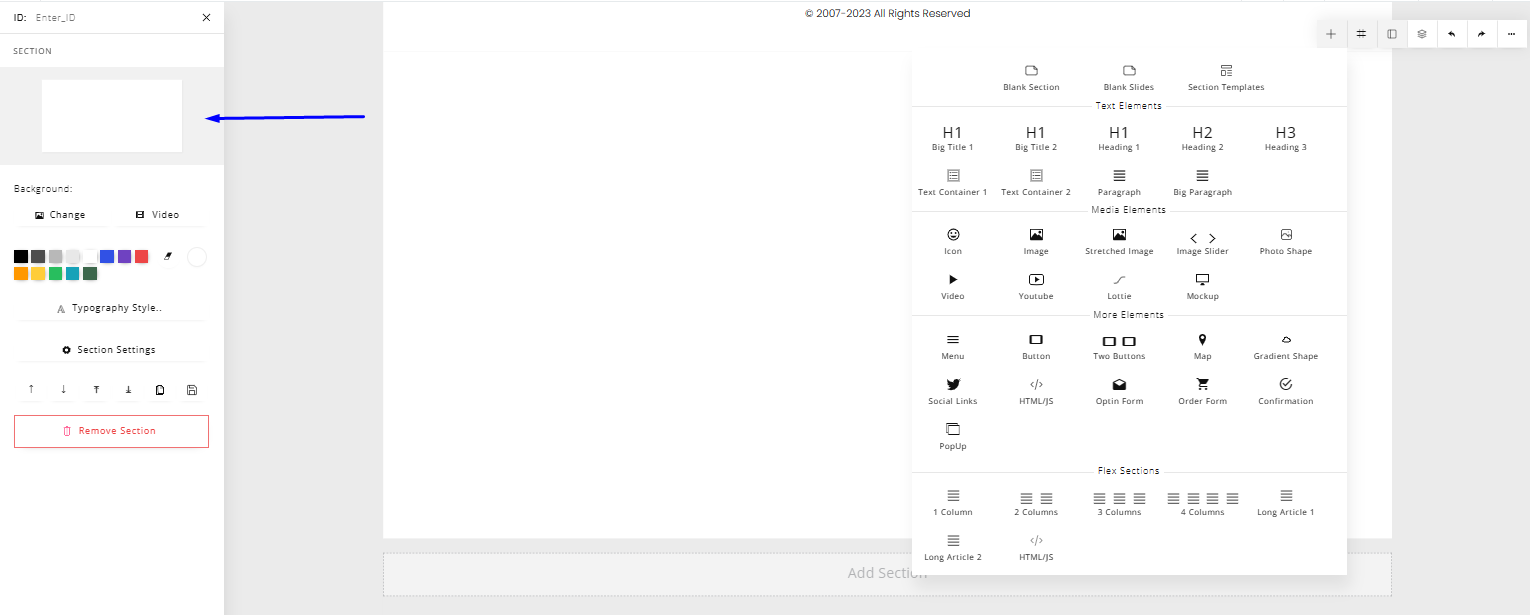
- Note that the element will be added to the active section. To know which section is currently selected, look to the panel on the left-hand side of the screen, and you'll see the currently active section under the “section” area.
Edit Text
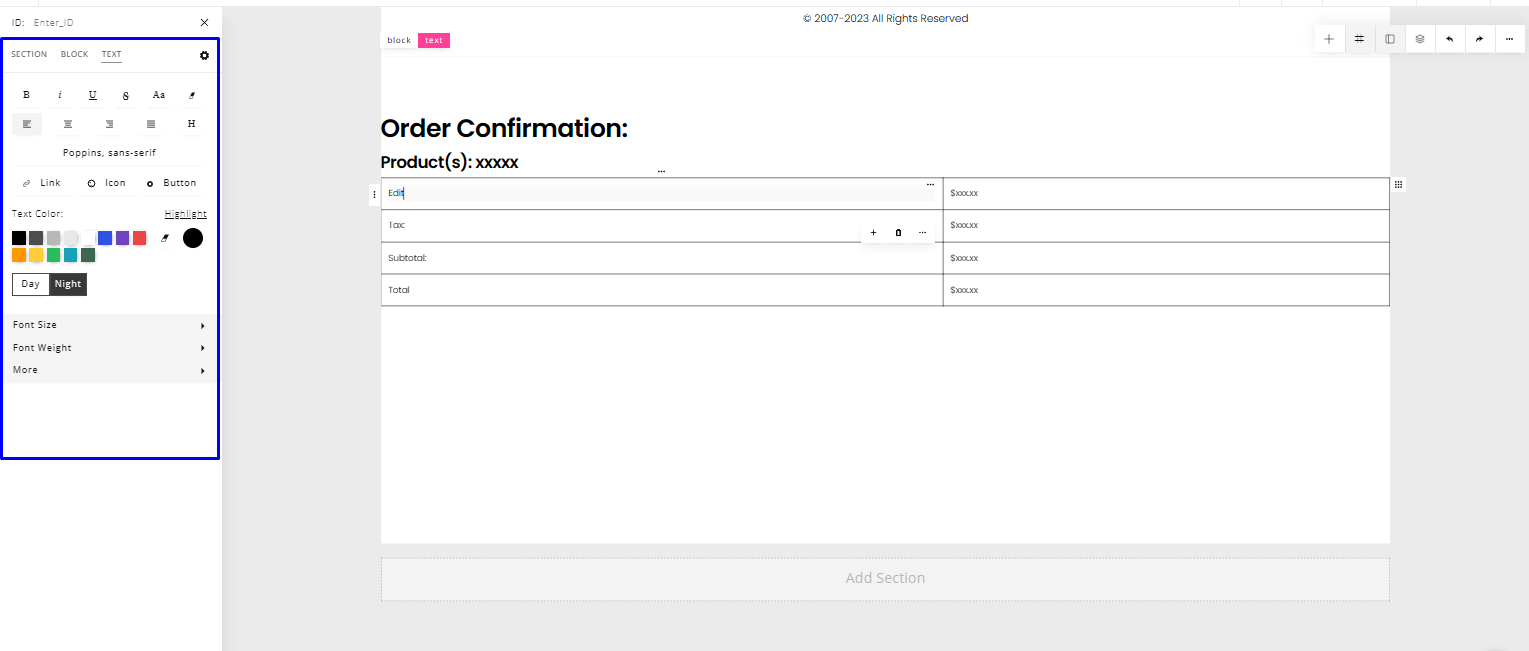
- To edit the text within the element, double-click on the text you want to edit and type in what you want.
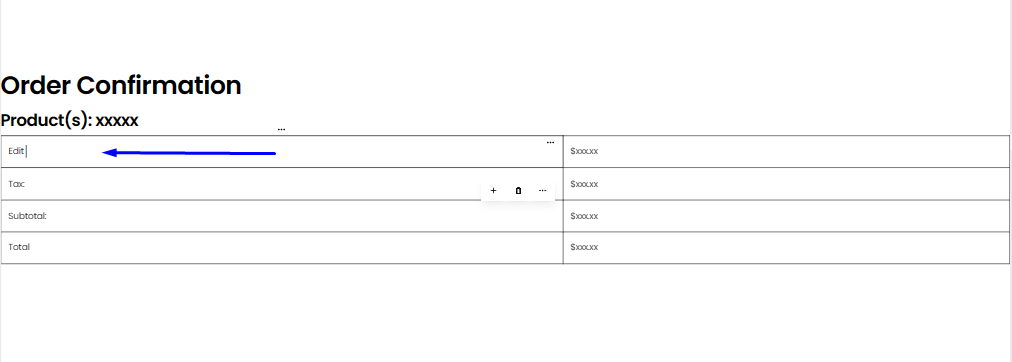 You can also add elements within the text field. To do that, click on the text field like you're trying to edit the text and select the "+" icon that appears right beneath the text area.
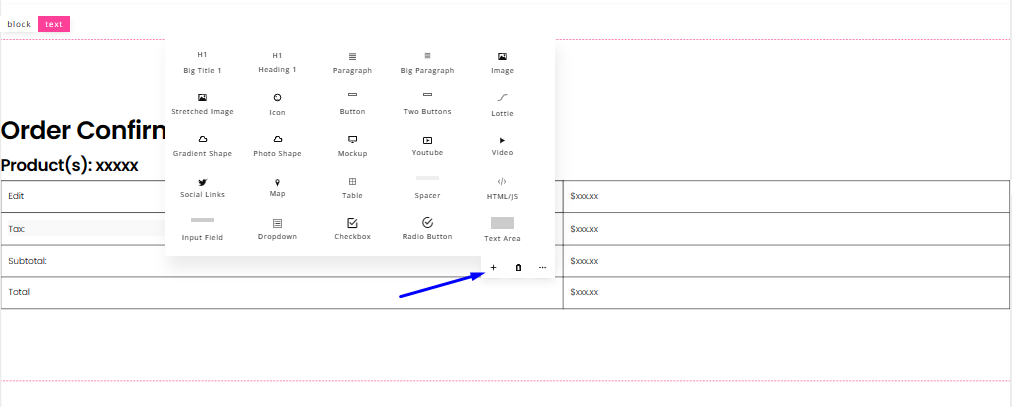
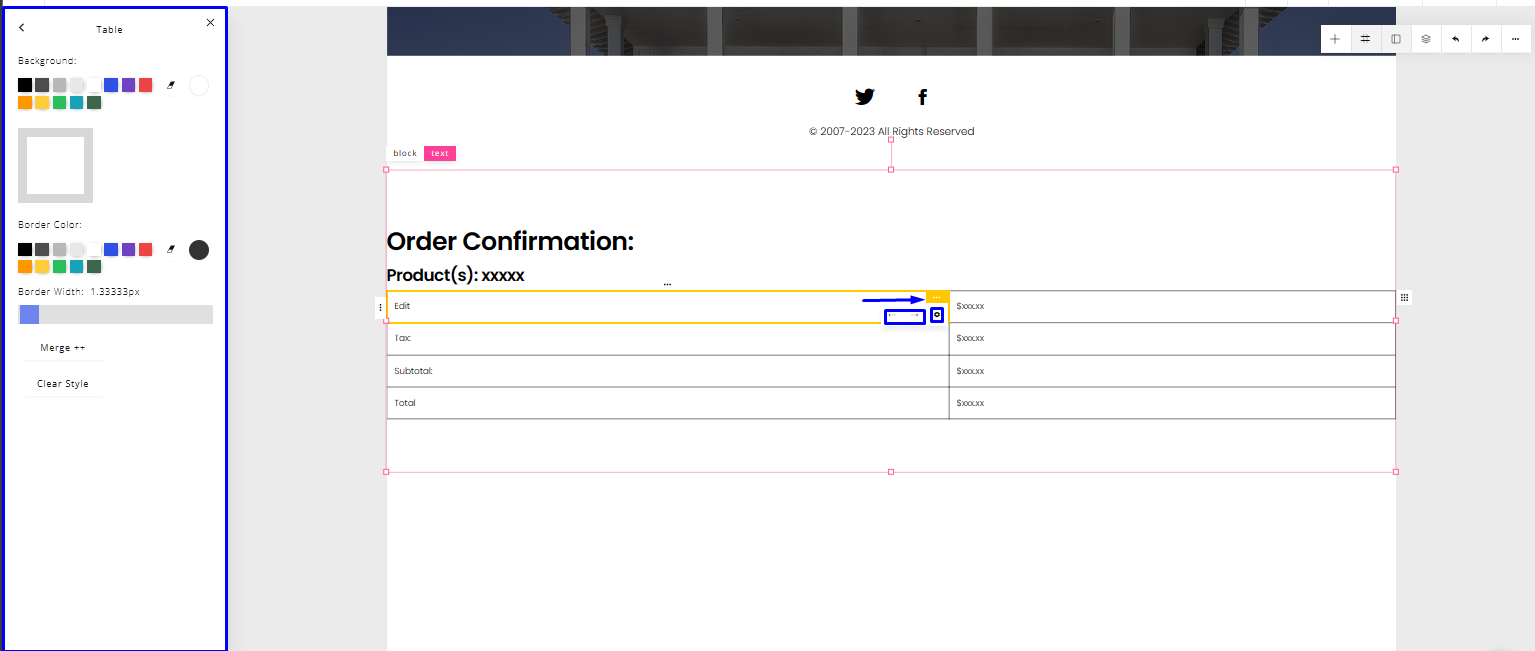
- To edit the styling of the text within the form, select the cell in which the text is, then the panel on your left will adjust to display styling settings for the text.
 Add/Remove Rows and Columns.
 - To add rows to the element, select a row and an options button will appear to the left of the row.
- Select that options button, and you can click on the “Add Row” button that appears.
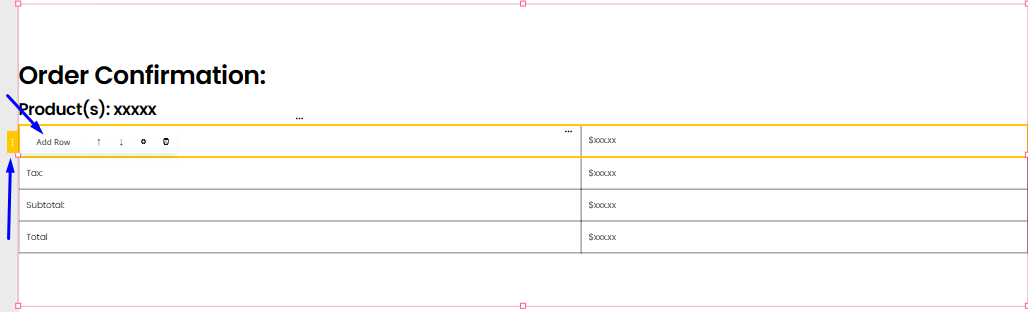
- With the same options button, you can either move the row up or down, and you can also delete that particular row.

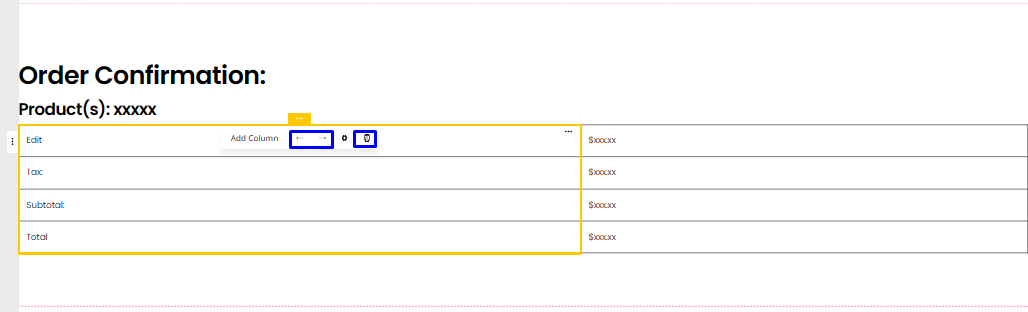
- To add columns to the element, select a row and an options button will appear to the top of the row.
- Select that options button, and you can click on the “Add Column” button that appears.
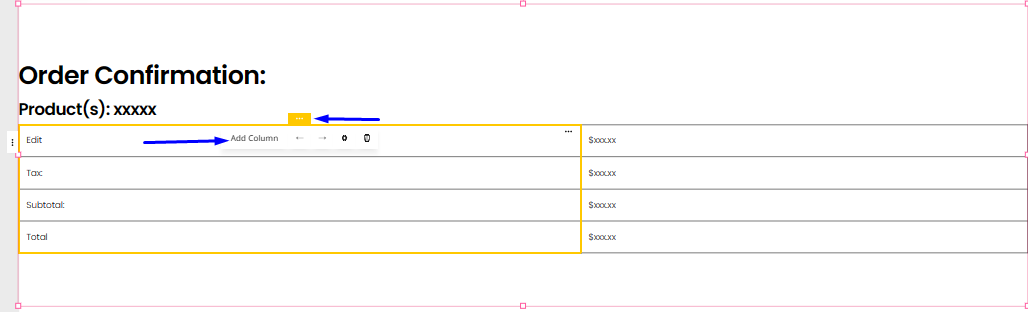
- With the same options button, you can either move the column to the left or right, and you can also delete that particular column.
Style Table/Table Cells
- To style the table as a whole, click anywhere on the table and an options button will appear in the upper right corner of the form/table.
- Select it, then click on the settings button that pops up. Then you will see editing options on the panel to the left-hand side of your screen.
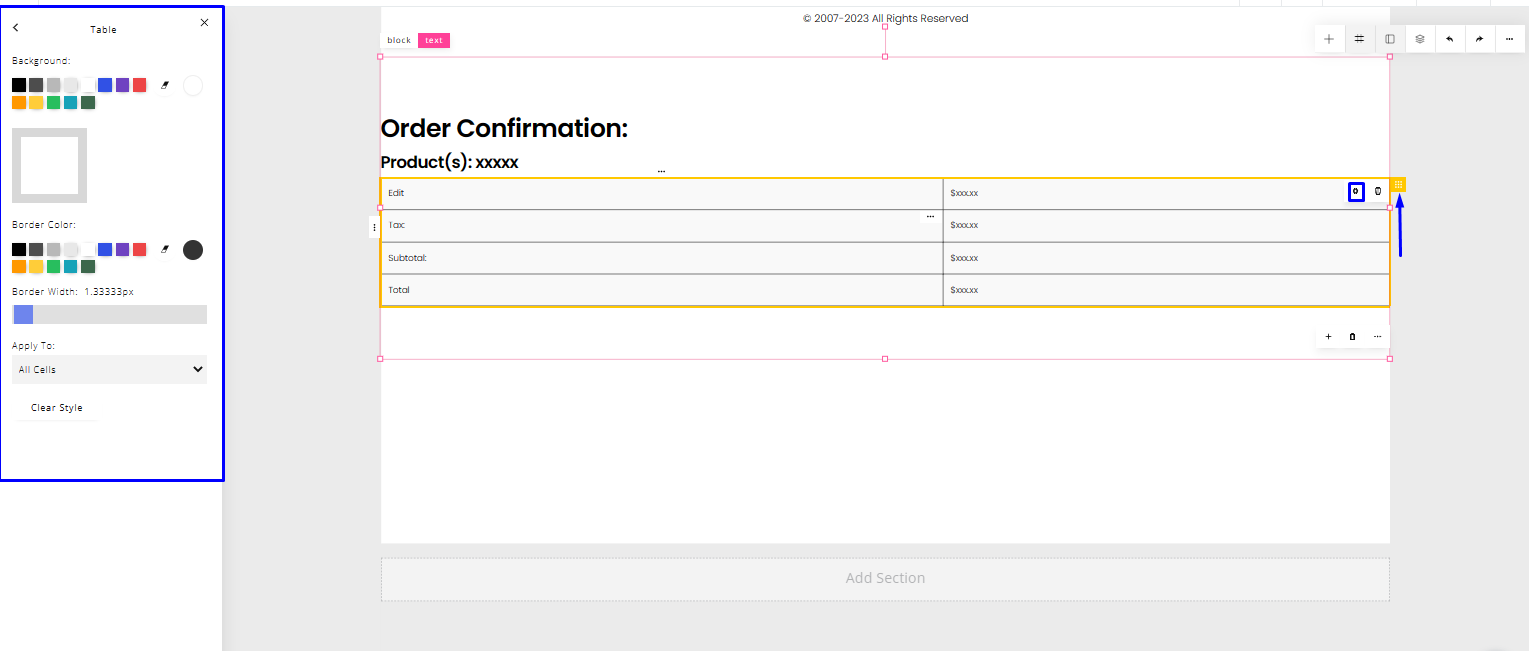
- To style a particular cell, select that cell and an options button will appear to the top right corner of the cell.
- Select it, then click on the settings button that pops up. Then you will see editing options on the panel to the left-hand side of your screen. Besides the settings button, you can move the cell left or right.