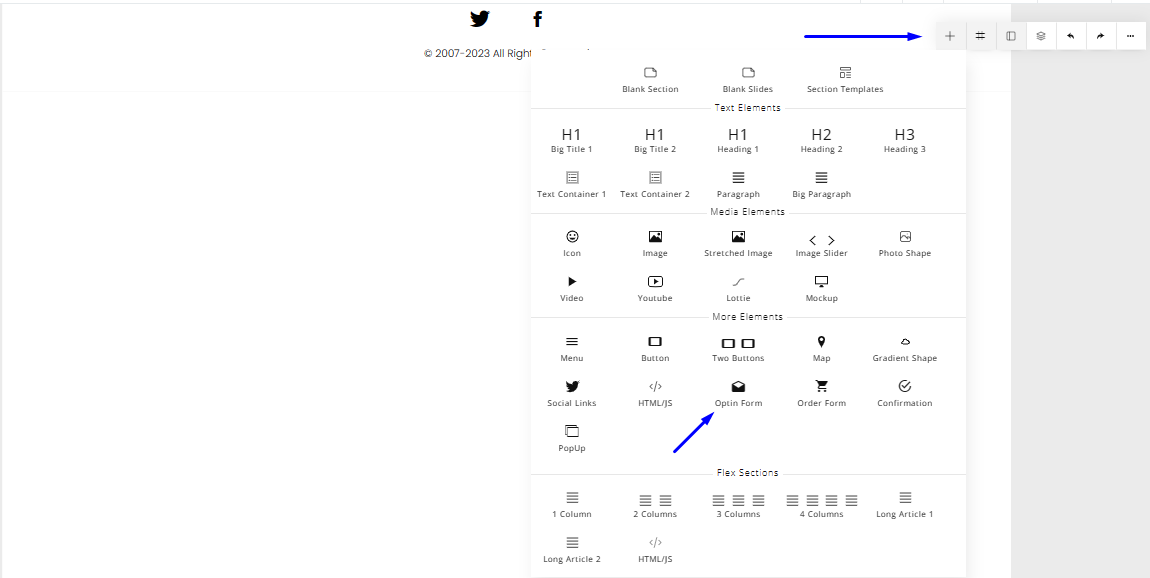
Add the Opt-In Element to your Page
- To add an Opt-in Element to your page, click the plus “+” icon at the top right of the builder and select “Optin Form”.
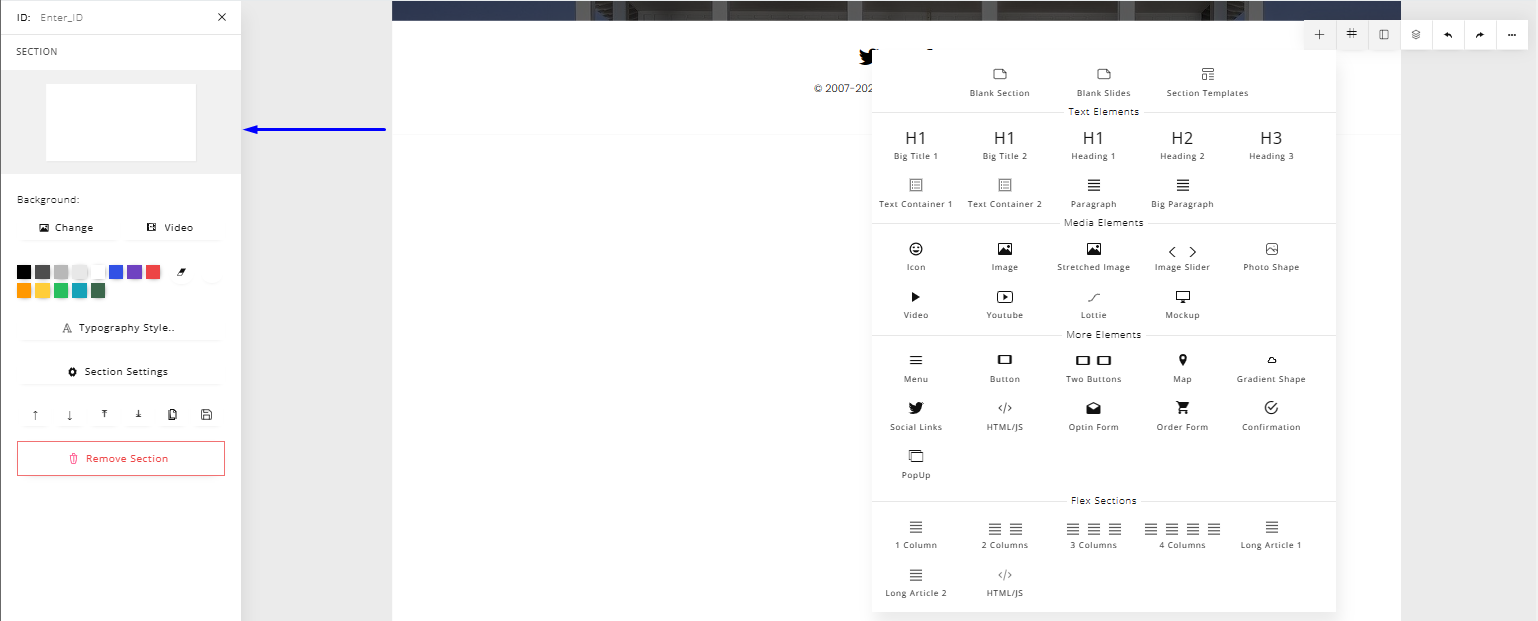
- Note that the element would be added to the active section. To know which section is active selected, look to the panel on the left-hand side of the screen, and you'll see the currently active section under the “SECTION” area.
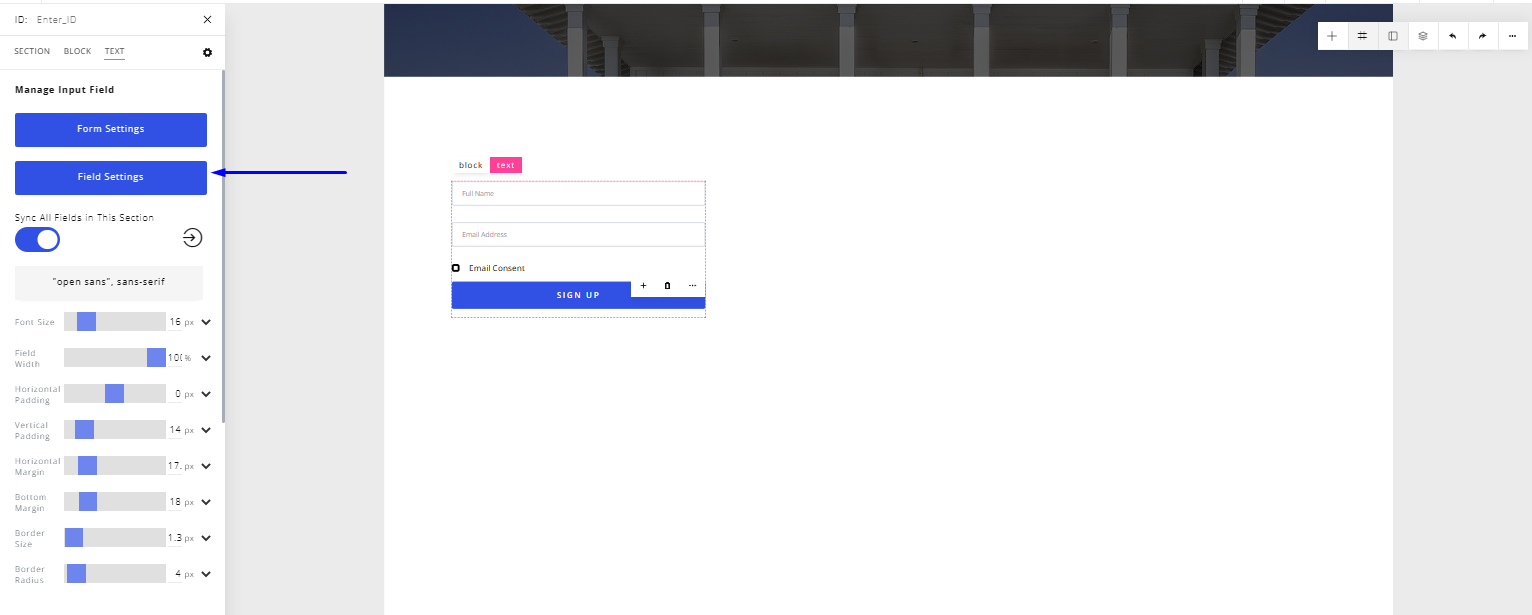
Field Settings - The field settings allow you to set the type of data you want to collect, if that data is required and the label/placeholder of that field.
- To get to the field settings, select the field you want to make changes to, look to the panel on the left and select the blue “Field Settings” button.
- A modal would pop up that would allow you to make the changes you want to make.
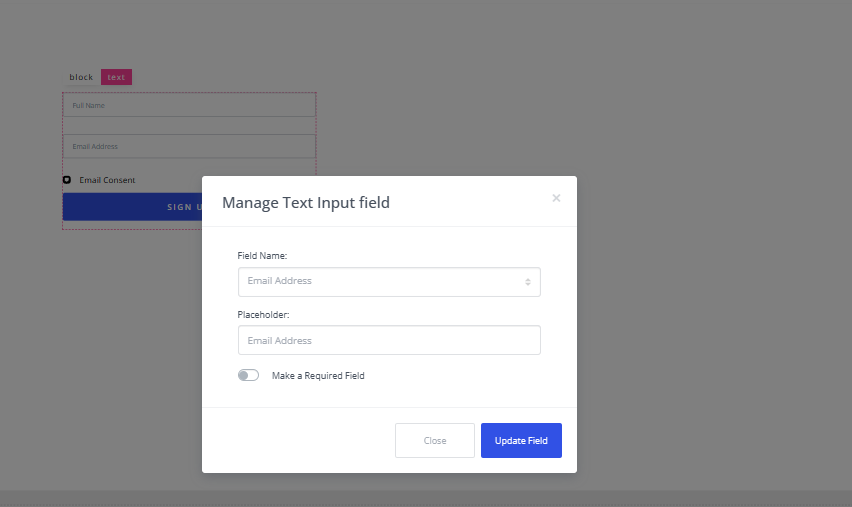
- Once you're done making those changes, click on “Update Field” to save those settings/changes.
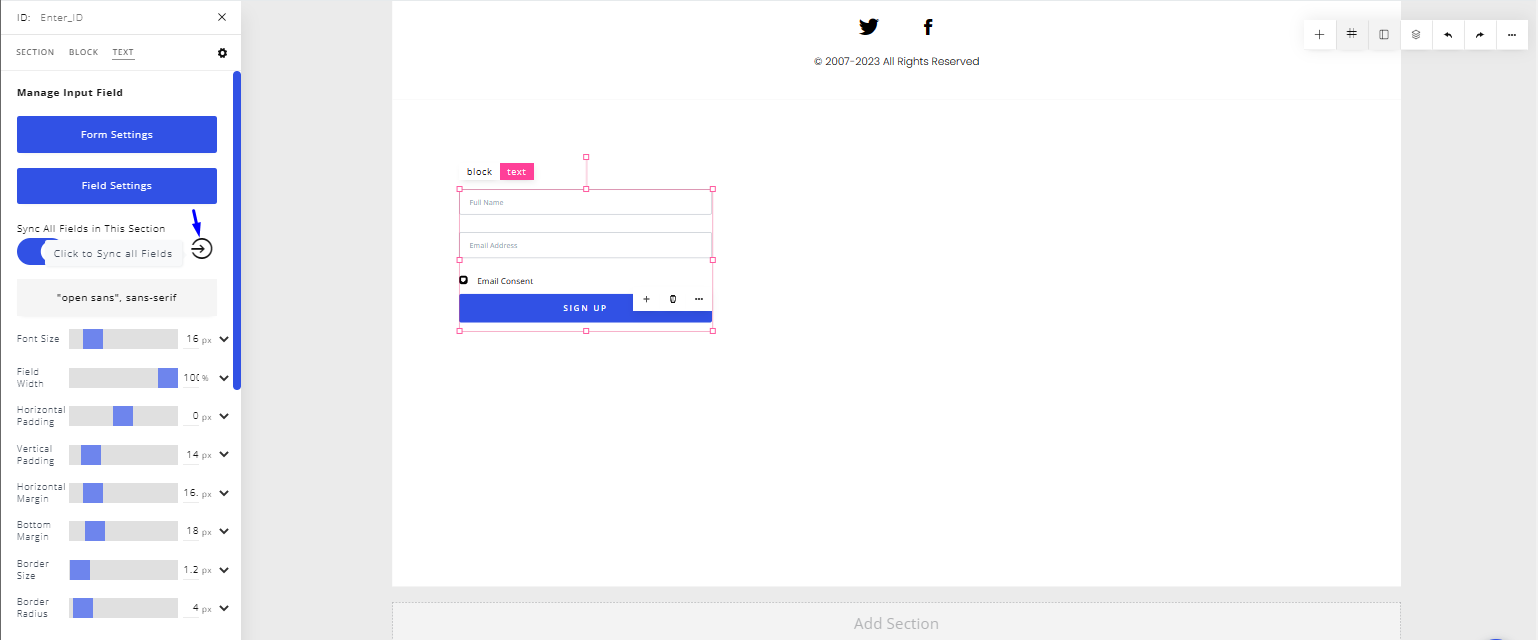
- Also, you can edit other field settings such as Font Family, Font size, Text color, Field with and so on.
- To do that, select the field you want to edit and look to the panel on your left, the settings applicable to that field would appear, and you can make your changes there.

- If you'd like the changes you make in this section to be reflected to every field in your form simply have the “Sync All Fields in This Section” button toggled ON. (This is ON by default). If this is toggled OFF then any changes you make to the selected form field will be applied only to that actively selected field.

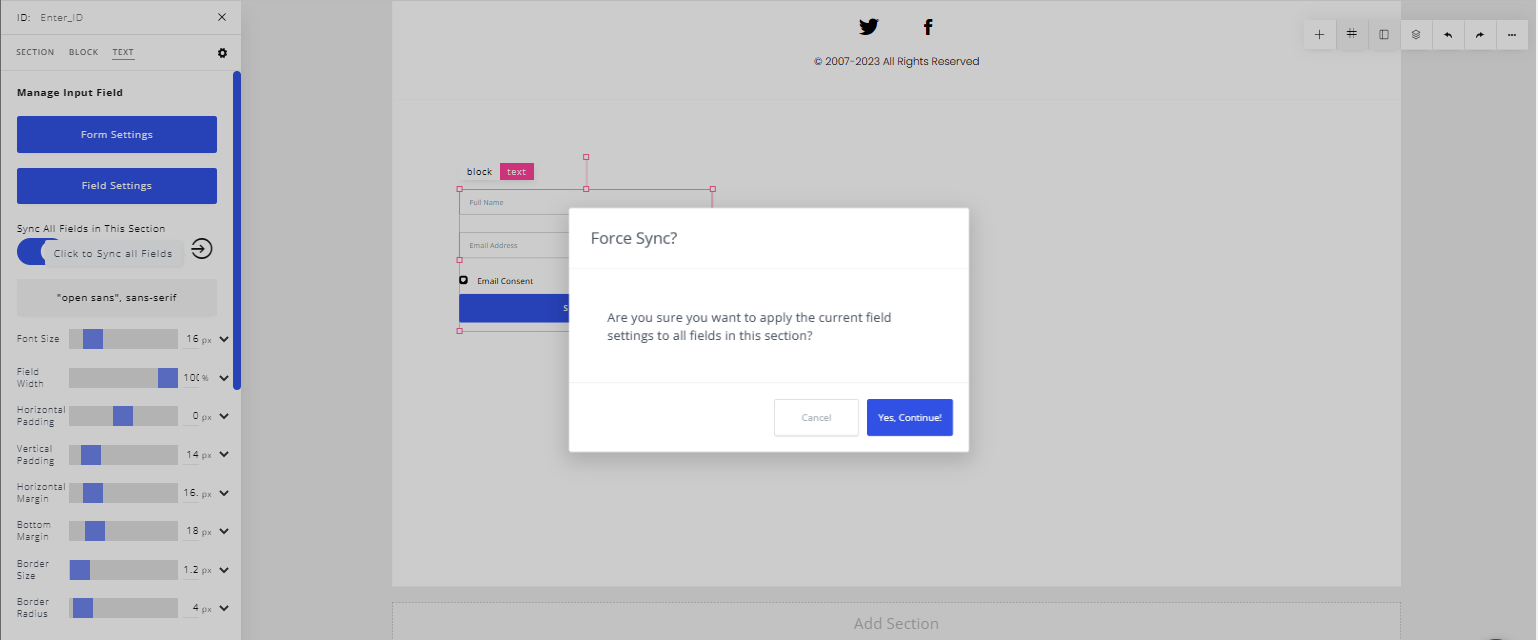
- If you are modifying settings to just one specific field and decide that you'd like those settings to be applied to ALL fields in this section, then click on the "Click to Sync All Fields" button. A confirmation modal will popup to confirm those changes.
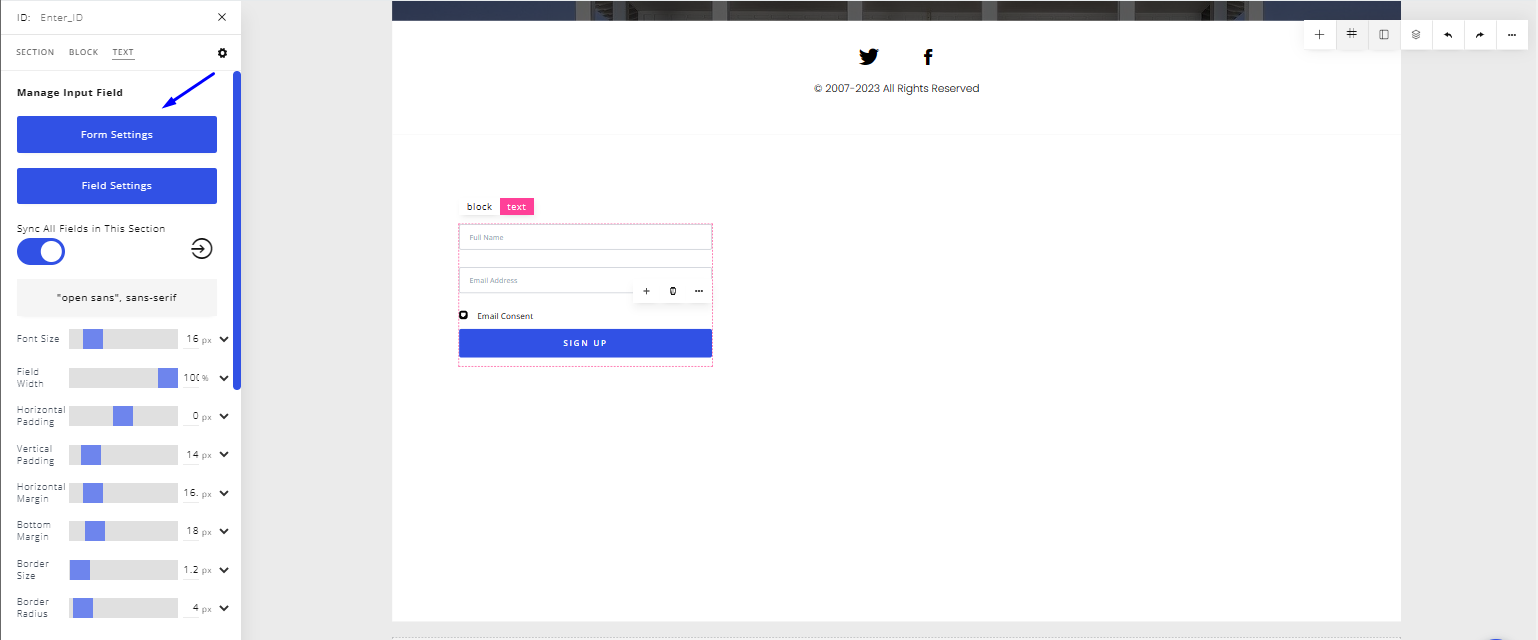
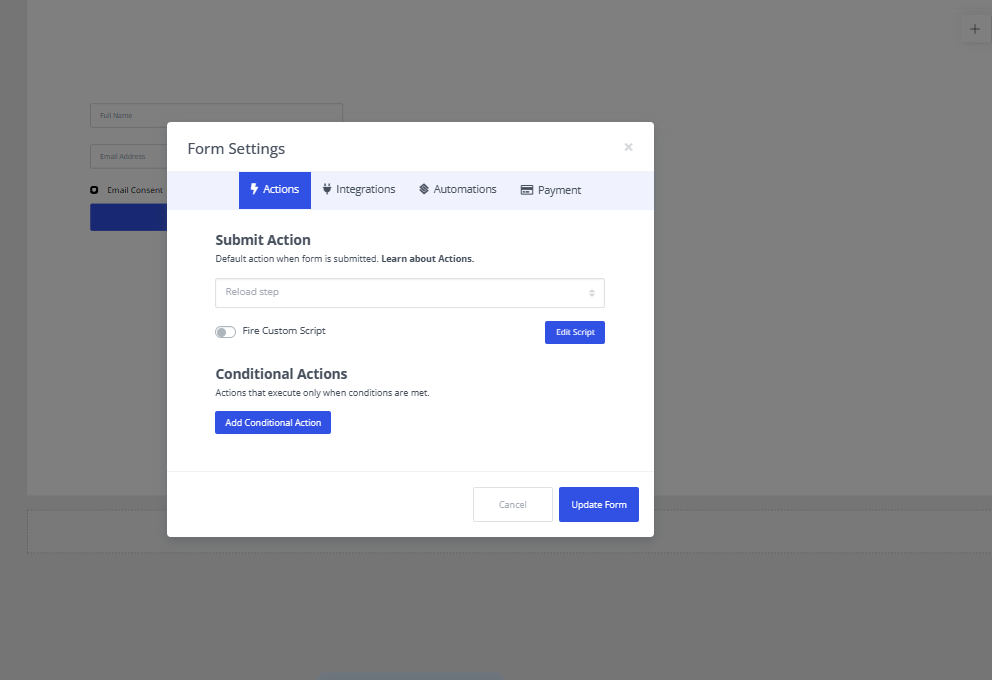
Form Settings
- Form settings allow you to create custom actions, integrations and automations for your opt-in form. E.g. What happens when a user clicks on submit.
- To get to the form settings, select any field within the form, look to the panel on the left and select the blue “Form Settings” button.
- The form settings modal will pop up. With that, you can set custom and conditional actions, integrations, and automations.
 For a more detailed explanation of the form settings, please feel free to watch this video.
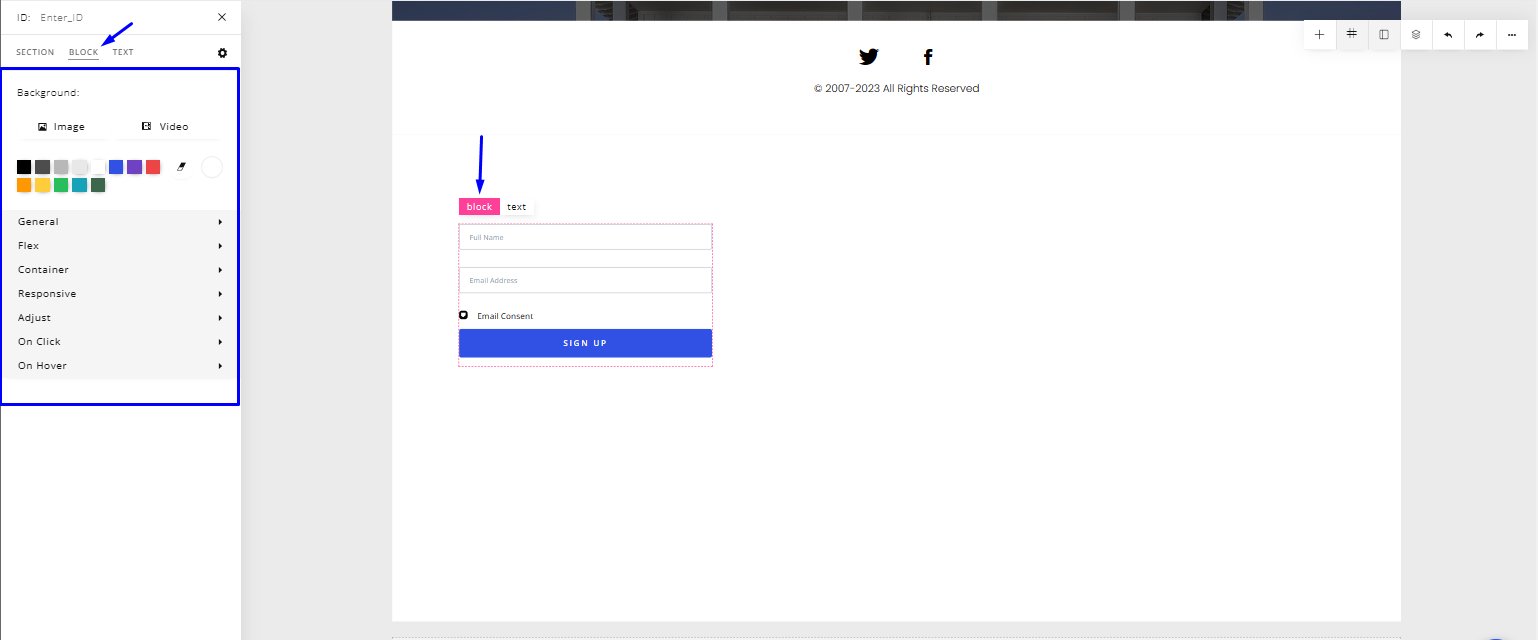
Block Settings
- The block settings allow you to style your form as a whole.
- You can edit the background color of the form, the width, the padding, and other styling attributes related to the form.
- To do that, select the form, there are two editing options at the top of the form. Select the “block” option. Once you select it, the panel on your left would change to the styling options for the form.